
Wooden work-tops are a worry. Will they warp with water?How do you keep them looking good?Is it a practical choice for a family kitchen?Read on!...... |
| Unless you are scrupulous with water spills it can ruin a beautiful worktop |
 |
| Cup stains can be eliminated and leave your worktop looking as good as new! |
Some years ago, when planning a kitchen, we visited a family who had installed stunning oak worktops. 'Don't do it!', I was told by our frazzled friends who had splashed out on surfaces that could not be splashed on!
The area around the taps was discoloured and the worktops had split down joins due to water damage. All this only a few months after the kitchen had been installed.
However, wood is a striking, beautiful and tactile finish in a kitchen, so whilst I took on board the advice not to have it near the kitchen sink or on the floor (where water damage from dishwashers or fridges can quickly ruin the look of your new kitchen), I was still keen to include it.
My premise is that a kitchen has to be practical. I am not going to worry if the wood gets a little stained or has cup ring marks as long as I can do something about it every now and again. It is a family home after all! By the same token I did not want to end up with a kitchen surface ruined by stains and warping.
My solution was to have granite worktops around the kitchen edges and use oak on the central island. As it worked so well in our last home I followed the same formula in our renovation project and I am delighted again with the result.
However, it must be stressed that wood does take a little more looking after than granite or tiled worktops so it is worth considering before installing it. In my view a little maintenance is worth the effort for the beauty of an expanse of natural wood on an island.
 |
| We have installed granite around the exterior of the kitchen with an oak island to minimise potential water damage to the wood |
So, here is how I keep my wooden worktop looking tip top!
1. Clear the work top and make sure it is clean, dust free and dry.
2. Take 00 steel wool and gently work along the grain to take off surface marks and stains.
 |
| Clear and clean the island thoroughly before using 00 steel wool |
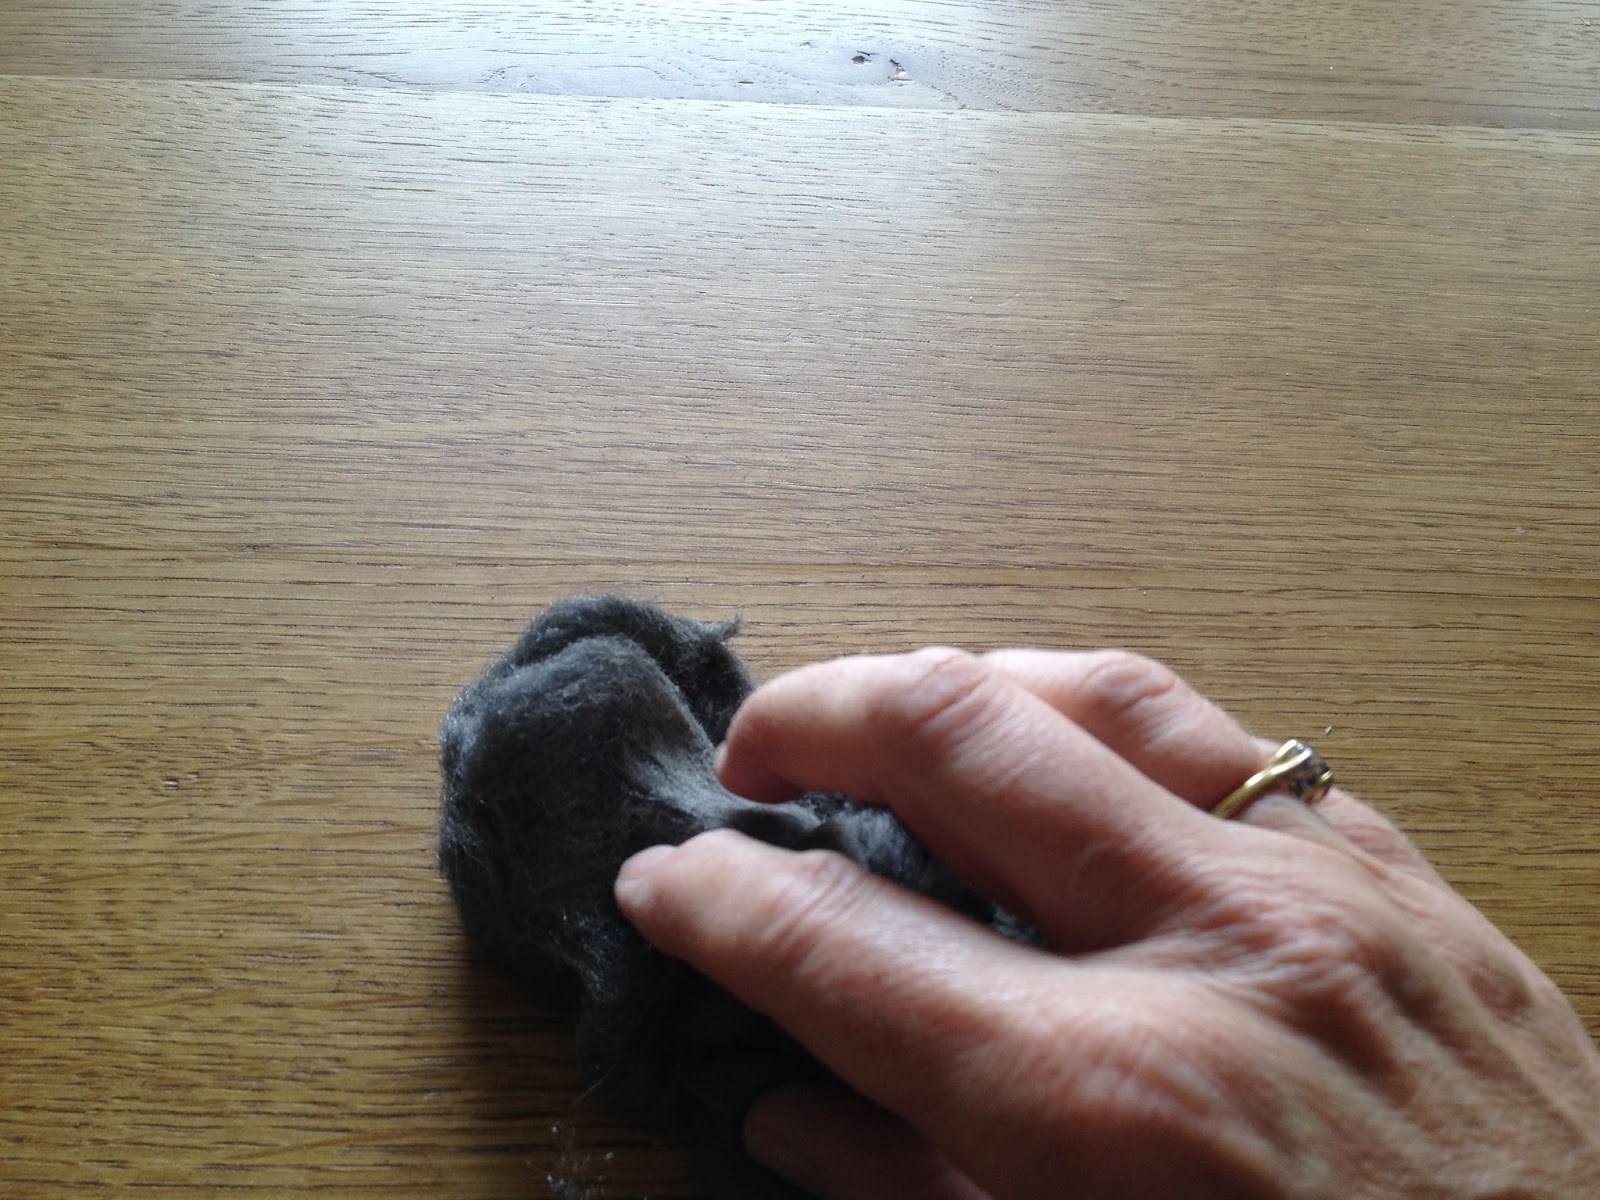 |
| Gently work along the grain with 00 steel wool to remove surface stains and mark |
3. Dust the surface thoroughly.
4. The product I have been advised to use is Liberon finishing oil. This is a natural oil for oak and in my opinion brings out the grain beautifully.
 |
| Liberon is available from hardware stores |
5. Finishing oils can be self combustable on rare occasions which means that all cloths must be washed thoroughly or disposed of carefully after use. It is nothing to worry about if handled properly, but something to be aware of. For this reason I used kitchen roll to apply the product so I can dispose of it.
6. If this is the first application of oil to a new work top you will need to layer up several thin layers as per instructions on the tin. In this instance I use a thin paintbrush but you must be careful not to use too much and must let it soak in fully between each application. For ongoing maintenance I usually suffice with one or two coats but you can judge by the look of your worktops after each coat.
 |
| Work along the grain working the oil into the wood |
7. Begin application by pouring a small amount of oil onto the cloth (alternatively dip a paintbrush into the filled lid) or pour a small amount onto the worktop. Start spreading the oil immediately, working up and down the grain, aiming for even coverage.
8. Once the oil is applied and worked into the grain, the worktop should have a sheen but should not be overly covered in oil. Building up thin layers is the key for the best finish.
 |
| Once oil is applied in a thin layer it should have a sheen |
9. Leave to soak in for 10 minutes.
10. Using a lint free cloth buff up the surface in a circular motion with a good amount of elbow grease! Repeat the oiling and buffing stages as necessary for ongoing maintenance but for the first application you will need at least 4 layers of oil, buffed each time.

Voila! A beautifully renewed worktop.
I hope you have enjoyed reading this post and that it helps with your decision making process! Please come back again and in the meantime let me have any comments or suggestions you have for my blog in the box below.
Thanks, Lucinda
No comments:
Post a Comment
Thank you for visiting my home renovation blog. Please like and share with your friends to spread the word. I would love to hear your comments and feedback. Hope to see you back here soon! Lucinda